Share
When setting up WordPress websites, there’s a fairly common issue which can sometimes be encountered, relating to the delivery of emails. The problem is that emails sent by the website fail to arrive in your inbox or perhaps keep landing in spam, and you may be left scratching your head as to why they’ve gone missing.
The most common examples of the emails that could be affected are those that should be sent to you when someone sends an enquiry via forms on your website, and the verification email which should be sent when there’s a change of admin ownership for the website in Settings > General.
Initial troubleshooting
The first things to check in these cases should be your SPF (Sender Policy Framework) and DKIM (Domain Keys Identified Mail) records within the DNS for your domain, as these control which servers are permitted to send emails on behalf of your domain – the system is designed to prevent people sending fake email pretending to be you.
You may still find that the email delivery issue persists even after checking that your SPF and DKIM are correct. In these cases, and particularly if you’re using a 3rd party such as Microsoft 365 for your domain’s email hosting, the root cause is probably something else.
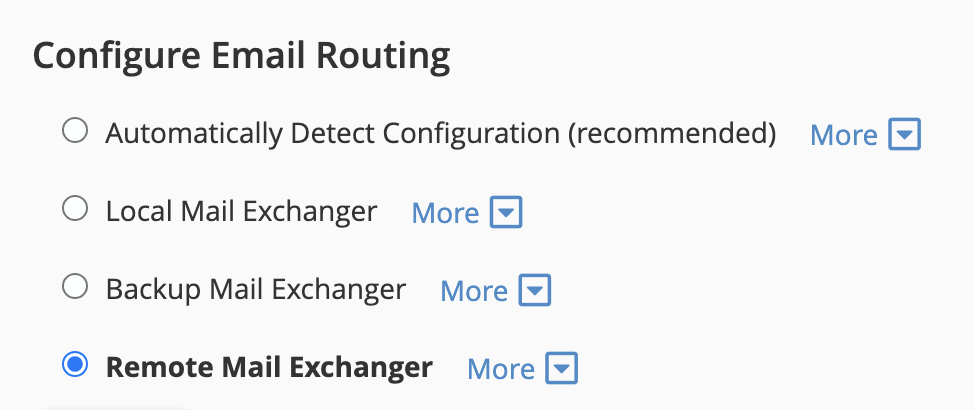
The next thing to check should be your Email Routing configuration in cPanel – if you’re using a 3rd party service such as Microsoft 365, you should select the Remote Mail Exchanger option.
If that still doesn’t solve it and you’re using Microsoft 365 for your business email accounts, the next step is to set up something called SMTP (Simple Mail Transfer Protocol). This makes everything much more robust and reliable, and should solve the problem.
Overview of our recommended process
In the following steps we’ll show you how to set up and configure SMTP and solve your email deliverability problem, using an excellent SMTP plugin for WordPress called Gravity SMTP.
There are several other SMTP plugins for WordPress out there to choose from, however we feel this one is currently the best on offer, because:
- It has an integrated email log, which shows you which emails were sent successfully and which failed, along with an extremely handy button to easily resend any emails;
- The email log works as soon as the plugin is installed, even if SMTP hasn’t been configured yet;
- It has a webhook integration for Slack, so you (or we) can get instant alerts if an email fails to send.
- It works with premium email services such as Microsoft 365 and Google Workspace.
It’s a paid plugin, but we have an agency licence for it which we can use for all our client sites without you needing to pay for it yourself.
Set up the Gravity SMTP plugin
1. We will install, activate and licence the Gravity SMTP plugin in WordPress on your behalf.
2. Next, we will need an “Application ID” and “Client Secret” from your Microsoft 365 / Azure account in order to proceed. Please go to the Gravity SMTP help page for Microsoft 365 here then scroll down to the Steps To Connect section, to get started with this process.
3. Create your Application ID by following their instructions here (these steps are also linked to within the Steps To Connect page above). When you reach the step where it asks you for the “Redirect URI”, this information comes from the Gravity SMTP plugin that we have installed on your website.
To find this, please login to your WordPress site using your own admin username / password (please let us know if you don’t have these details and we will help you gain access) then go to SMTP > Settings > Integrations and click the cog icon for Microsoft:

Click the button to copy the Redirect URI (School or Work Accounts), then paste this into the respective Redirect URI field in your Microsoft Azure account. Follow the rest of the steps in the Gravity SMTP help page above to save your Application ID.
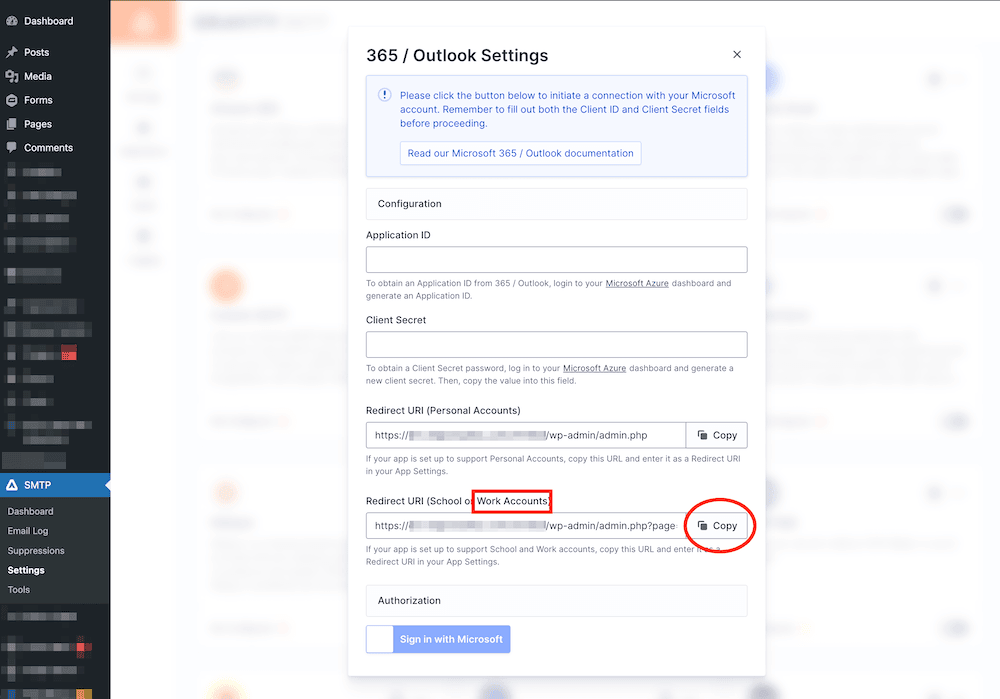
4. By following the remaining steps in the Gravity SMTP documentation above, get the Application ID and Client Secret from your Microsoft Azure account and copy/paste them into the respective fields of the Gravity SMTP plugin settings shown in the screenshot above.
5. Click the button in the Gravity SMTP window above to Sign in with Microsoft, then enter your Microsoft account login details to complete the authentication.
NB: It’s important that you sign in to the same Microsoft account that you will be using as the sender for emails sent through the website (such as notifications about enquiry form submissions) – generally this should be a generic mailbox such as info@ or hello@ etc.
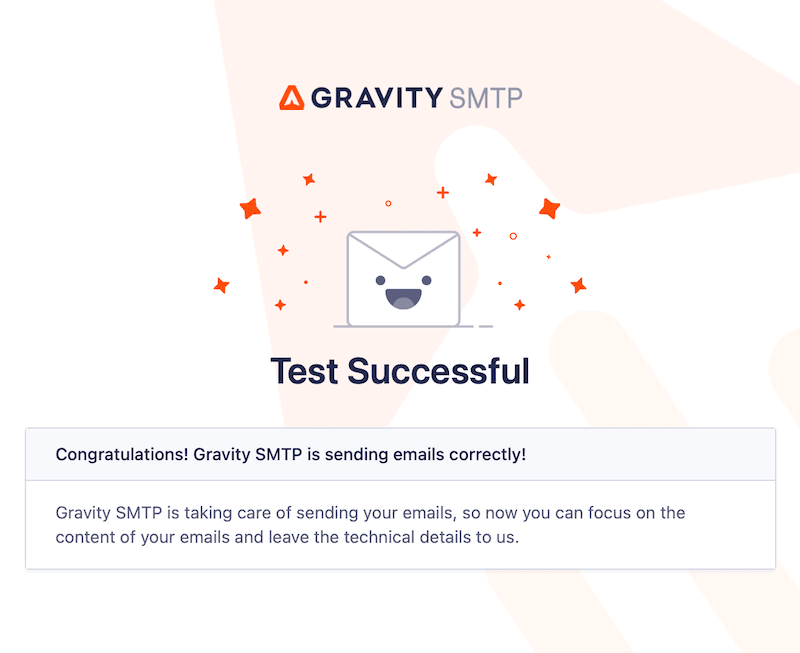
6. Finally, go to the Tools tab of the Gravity SMTP plugin and enter your own email address then send yourself a test email, to check it’s working successfully. The test email should arrive looking like the below example.
That’s it – all done!
If you’re an erjjio client and you get stuck with any of the above, please get in touch 🙂


thanks for the info and good article.
update, before “Begin by setting up the Post SMTP plugin”
make sure to enable SMTP from office on specific account/tenant level, other wise its not going to work.
Use the Microsoft 365 admin center to enable or disable SMTP AUTH on specific mailboxes
1: Open the Microsoft 365 admin center and go to Users > Active users.
2: Select the user, and in the flyout that appears, click Mail.
3: In the Email apps section, click Manage email apps.
4: Verify the Authenticated SMTP setting: unchecked = disabled, checked = enabled.
5: When you’re finished, click Save changes.
Thank you, I was getting error because the user is not authorize to send emails.